
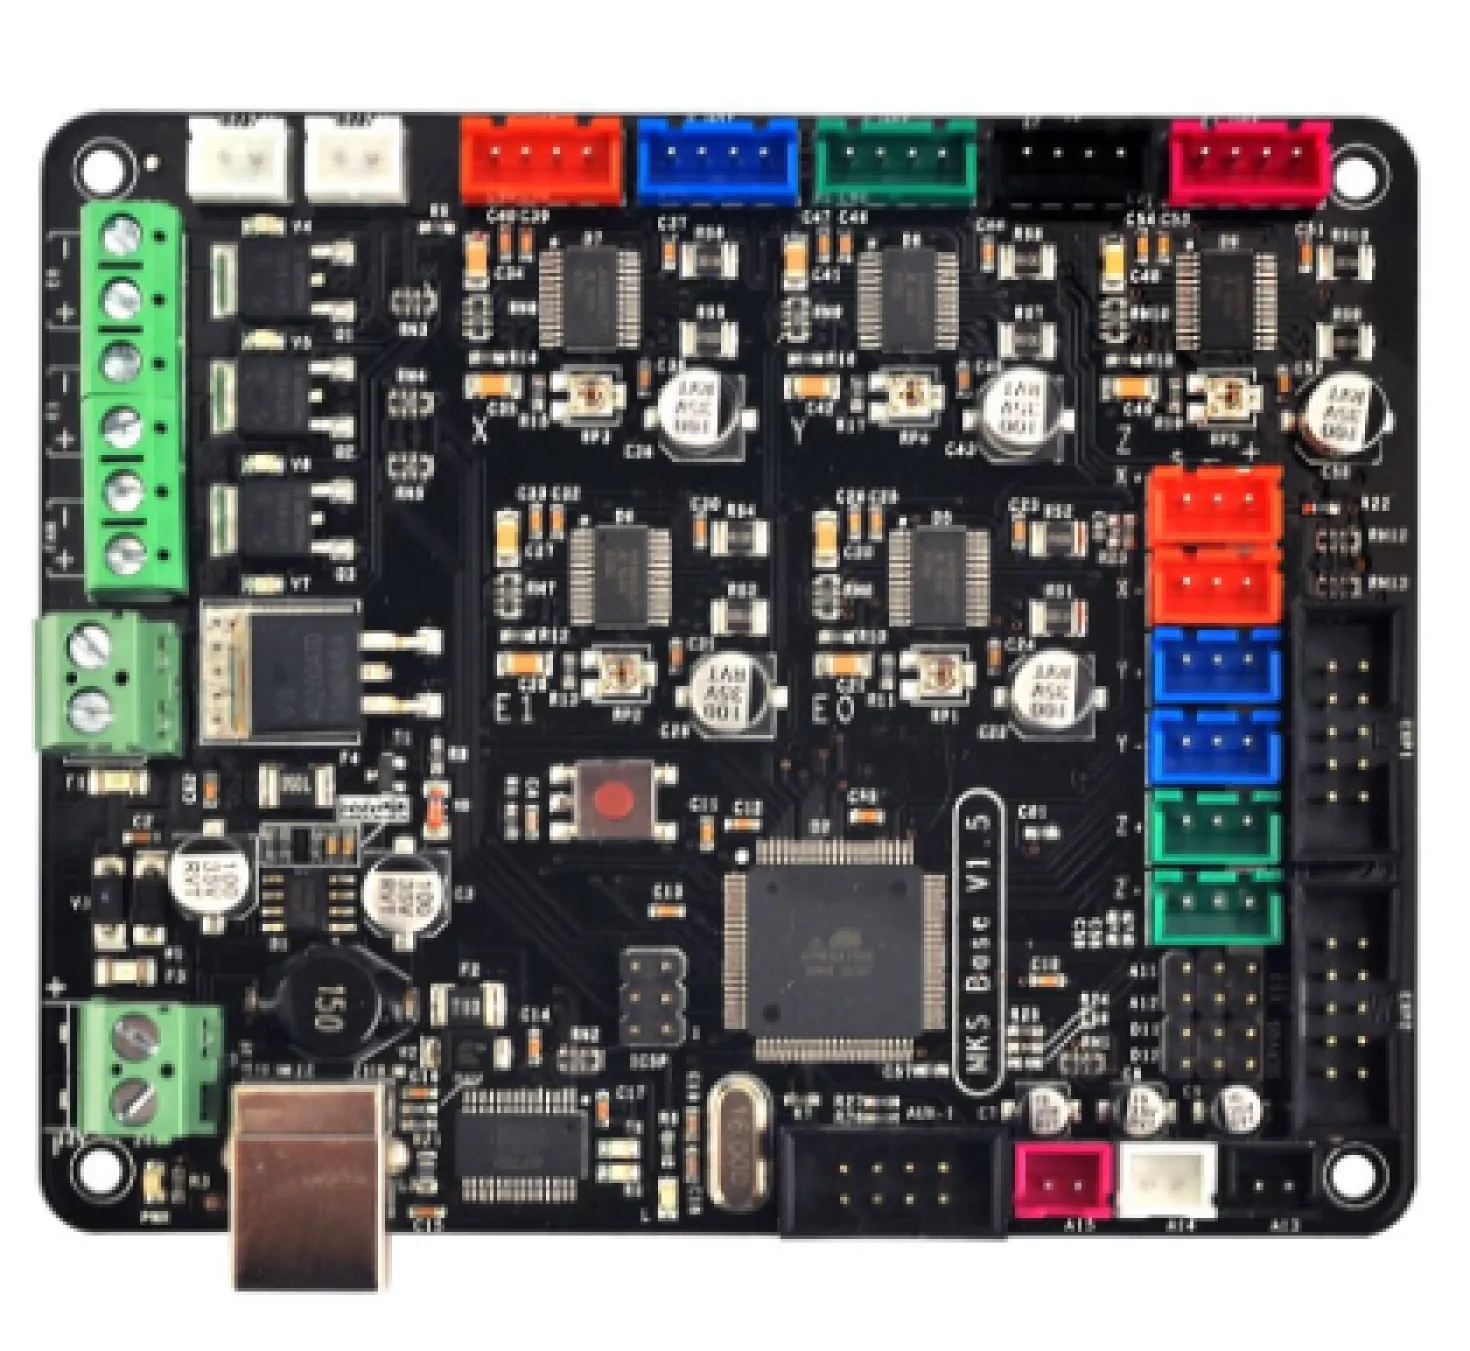
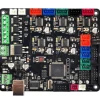
MKS BASE V1.5 USB Compatible with Mega 2560 R3 Mainboard + Ramps 1.2
kr.336.38
MKS Base V1.5 is the combination of Arduino MEGA2560plus RAMPS1.4 and A4982 in 3D printer. It is a feature rich all-in-oneelectronics solution for Reprap and other CNC devices. It features anonboard ATmega2560. Its five motor outputs are powered by A4982 stepper drivers. It use FTDI FT232R device for USB and not ATMEGA16U2 as ARDUINOMEGA2560. The board can use the same firmware as Ramps1.4. MKS Base V1.5 is designed to be flexible in the user’s power source availability,allowing any power supply from 12V-24V. It is supplied with a Marlinfirmware. Of course you can also upload another firmware. You can useArduino IDE to upload firmware to MKS Base V1.5 board through ICSP PIN. While uploading the blue LED is lit and the RX/TX LEDs will blink fast.
Features:
Fireware:
This section will show you how to get firmware intoyour controller and run it with basic settings.
Software required: FTDI USB drivers, for Arduino IDE,Choice of firmware (Marlin or Repetier or Sprinter), Pronterface
- USB VCP Drivers – MKS Base uses thenewer FT232 USB to UART chip and it needs the updatedVCP(virtual com port) drivers from the
manufacturer’s website . Download the correct versionfor your operating system or you can get the executableversion for Windows (easier).
Windows Vista/7 may try to do an update to locate theproper drivers but it is recommended to install the FTDIdrivers for better performance.
The VCP drivers will install a COM Port on your computer for the MKS Base, you can check what port number was assigned by going to your device manager and click on Ports(COM & LPT) look for something that says “USB Serial Port(COM3)” where COM3 is you assigned port number(will vary from PC to PC). Remember this number asyou will be using it later in configuring othersoftware. - Install Arduino IDE – Download andextract the Arduino IDE .
- Get your firmware – While you can usemost firmwares out there, we will use Marlin as anexample. Download and extract Marlin or any other forksof the firmware that you prefer/need.
- Upload firmware – Run the Arduino IDE(arduino.exe).
Select your board – Click on Tools -->Board -->ArduinoMega 2560,
Select your serial port – Click on Tools-->Serial Port-->(select your COM port for the X3 USB, you can check this in Device manager)
On Arduino click File-->Open — then point to your Marlin Download and select Marlin.pde. With Marlinloaded on the IDE window, click on the tab that says “configuration.h”. These are the basic entries that you need to change toget the X3 working.#define BAUDRATE 250000 //This will work fine for theMKS Gen
#define MOTHERBOARD 33 //33 is for RAMPS which the MKS GEN is compatible with MOTHERBOARD 34
#define TEMP_SENSOR_0 3 //If you have the NTC 100K
#define TEMP_SENSOR_1 0
#define TEMP_SENSOR_2 0
#define TEMP_SENSOR_BED 3 //If you have the NTC 100KThese entries are the only ones you need just to get the MKS Gen running. Once you get it to upload you can nowtest most features of the board. You will need to tweakthe settings on the configuration file for your printer.
- Upload(or compile to test) Marlin – While still on the Arduino window
Click on the Triangle inside the circle to do a test compile, this makes sure that the firmware does not contain errors( you can skip this)
Click on the arrow pointing to the right inside a square frame to upload firmware to the board. If everythinggoes well you’ll see a “Done Uploading” message near the bottom for Arduino window.
Package includes:
Tekniske specifikationer
Brand
MKS
Bruttovægt
0.2 kg
Be the first to review “MKS BASE V1.5 USB Compatible with Mega 2560 R3 Mainboard + Ramps 1.2”
Related products
Byggeplader - Bed Adhesive
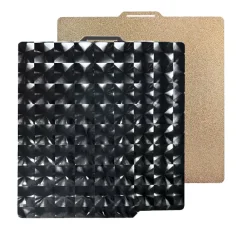
Double Sided SpiderPowder- and Smooth PEI SpringSteel System – Ex Voron 2.4 – 300x300mm

3D Printer Tilbehør
Byggeplader - Bed Adhesive

3D Printer Tilbehør
Byggeplader - Bed Adhesive
Spider – Spring Steel Sheet PEI/PED Film Coated – X1C/P1S – 258x275mm


Byggeplader - Bed Adhesive
3D Printere

Reviews
There are no reviews yet.